SLA-printed stencil: a whole new level
Some time ago, I experimented with FDM-printed stencils for solder paste dispensing. The result worked relatively well, but I was hitting the limits (mostly resolution) of FDM printing. Also, the stencil required extensive post-processing (sanding, cutting) and the smallest component supported was probably 1206 or 0805, with luck. I recently got a new SLA printer (Anycubic Photon Mono) and today I needed to restock my Brymen 867 adapters on Tindie. So I decided to print the stencil on my Photon.
Just for reference, one pixel on the Photon has 47 x 47 µm, so roughly 0,05 mm. I tried two thicknesses of the stencil – 0,15 and 0,20 mm, ie. 3 and 4 pixels wide. While the first one was too fragile, the latter proved to be fine for the job. The resin prints are still relatively brittle, so care must be taken. But my stencil withstood the 6 solder paste applications without a problem. I still need to get my hands on a tought or flexible resin, maybe that would produce even better stencil.
What I learned:
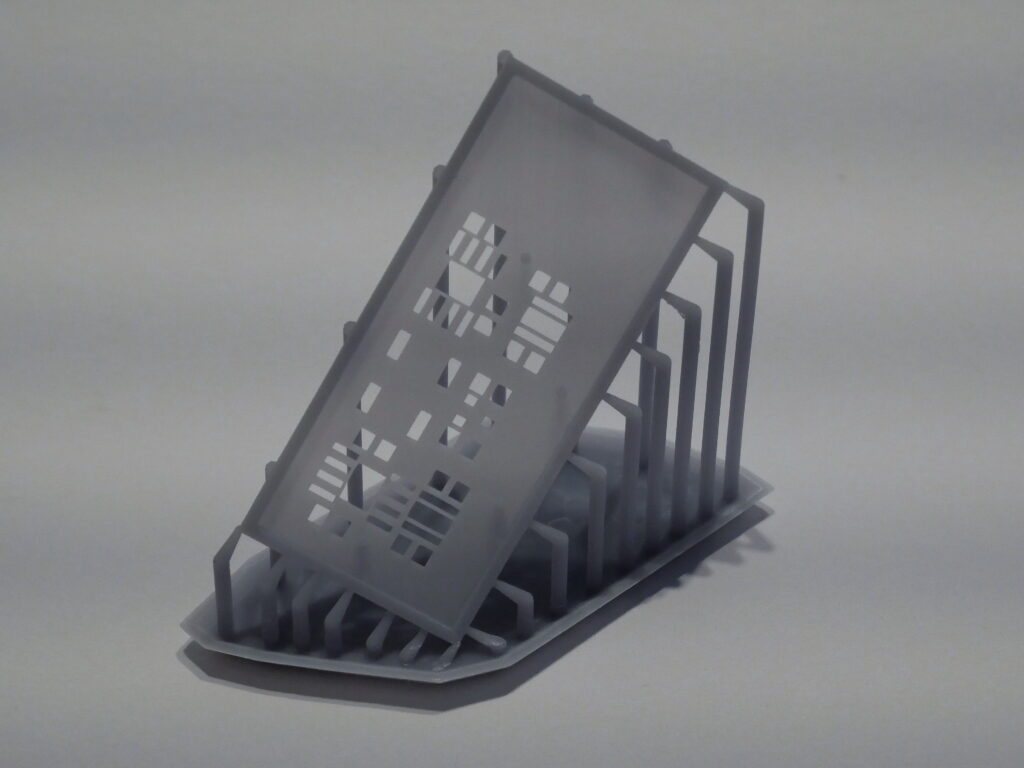
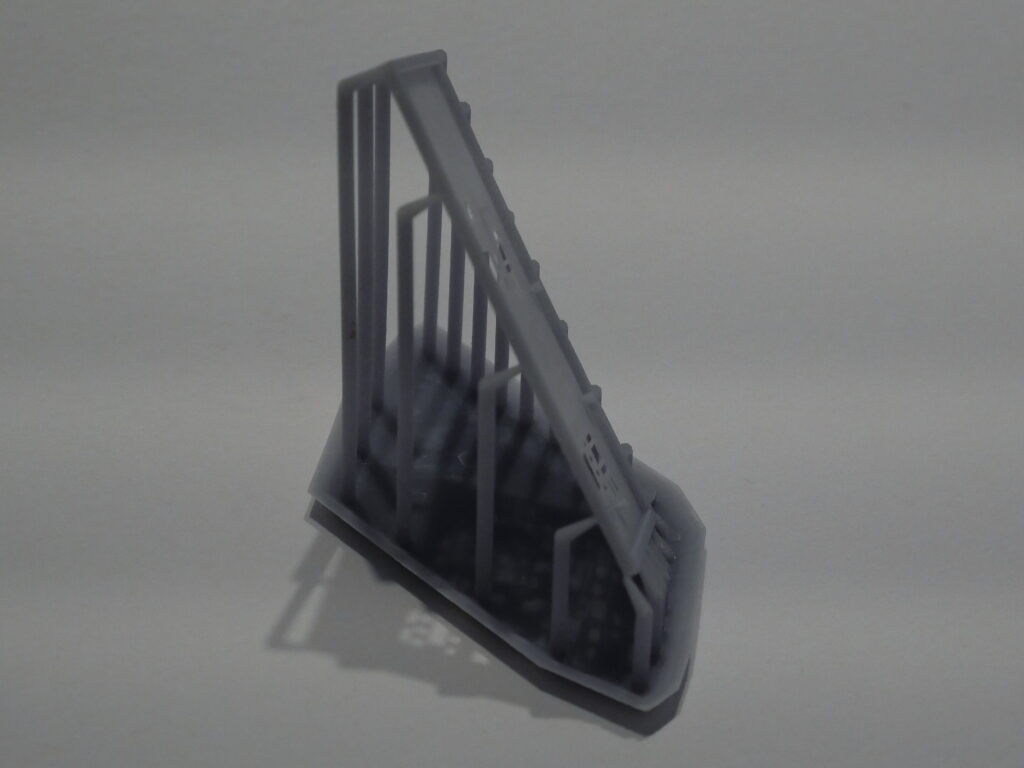
- Print the stencil standing & angled against the buildplate (see the first photo).
- I usually just break off the supports, but here I needed to use flush cutters to carefully snip them off.
- I added the support manually to the two lower edges – but you also need one or two support points on the top, to prevent it from warping during the curing process.
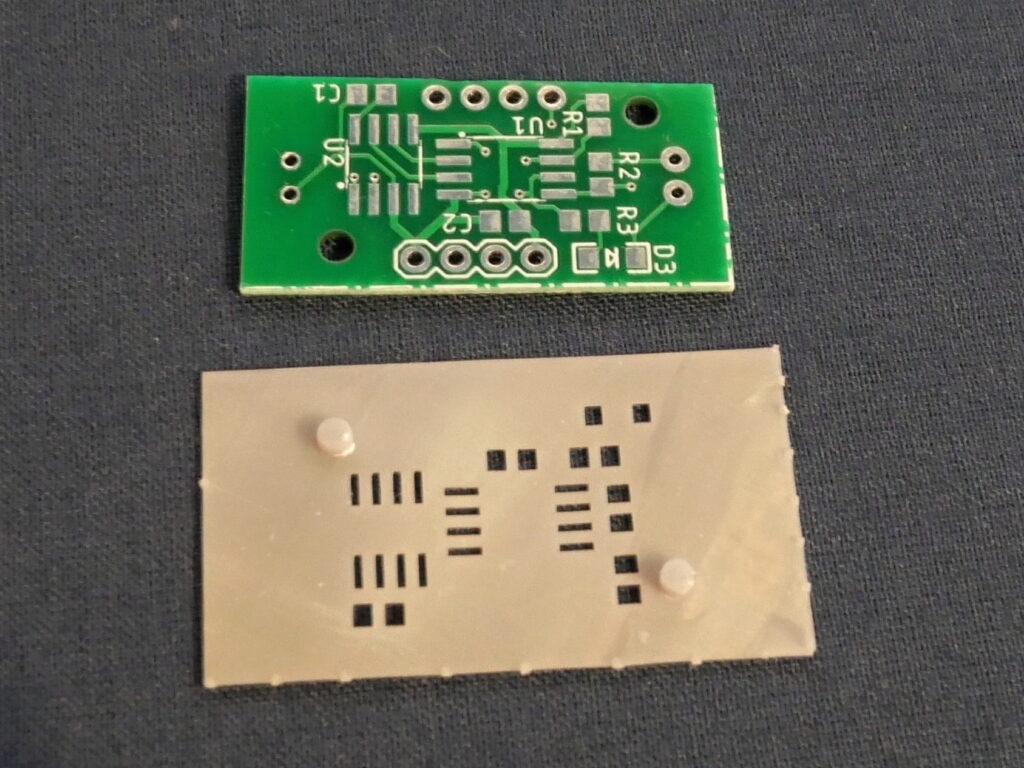
- Nice trick with 3D printed stencils is that instead of printing a ledge on two sides and aligning the PCB against these, I print studs to be inserted into the screwholes in the PCB (I have screwholes on probably 99 % PCBs). This is much more accurate that relying on the PCB edge, which can be way off.
- I tried to print a stencil for TQFP package (0.8 mm pitch) and it actually worked. For a 0.5 mm pitch, you’d probably need to join the holes for the individual pins together and rely on the surface tension of the solderpaste to flow to the pads.

Update 03/21: after using this on a couple of projects, I’ve found that it’s best to make a 1×1 mm frame around the print (this gives it more rigidity), and also print it under an angle in all axes (see the picture). Finally, what I do now is I cure my print submerged in water, and this results in even stronger stencil.