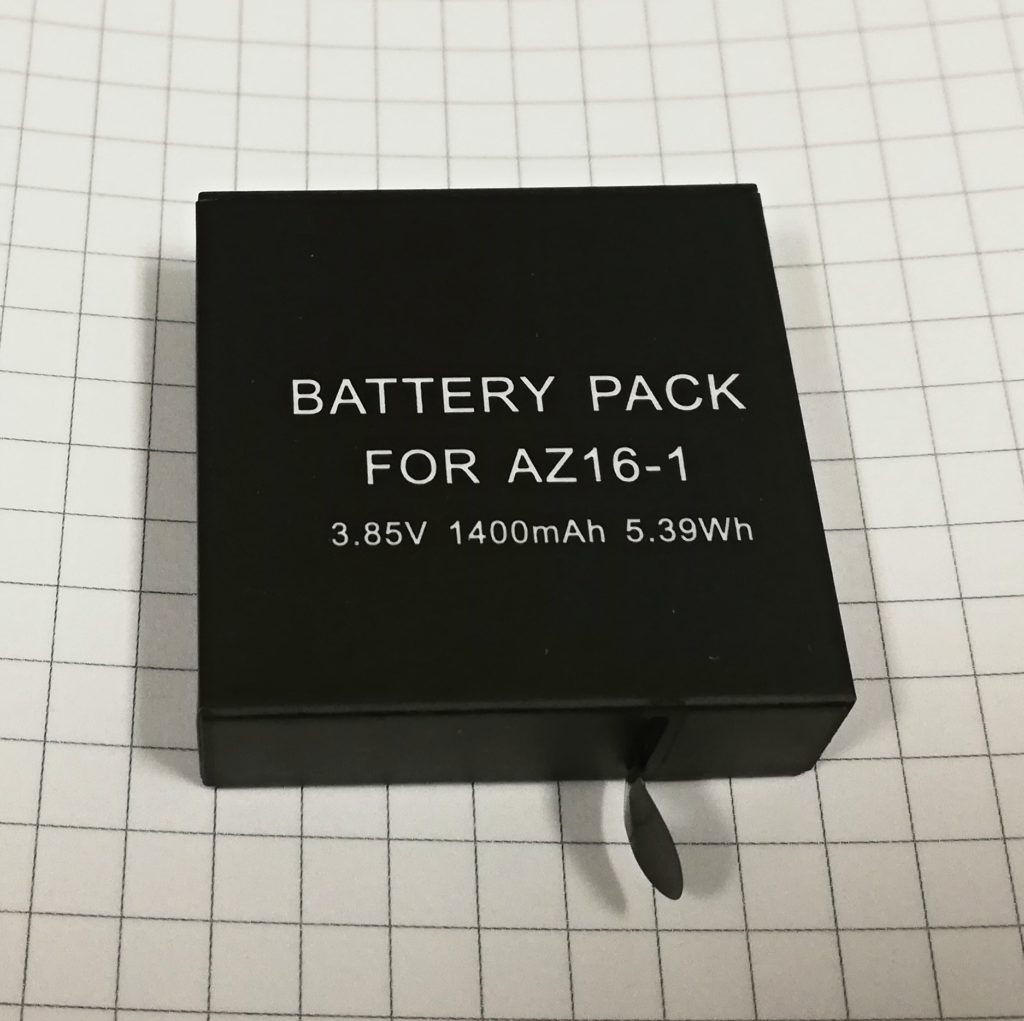
3D printed charger for Yi 4K camera battery
I own an action camera – the Yi 4K – and I am very satisfied with it. However, even though it has longer battery life than a GoPro, it still runs for only ~90 minutes on a single battery. For this reason, I bought a bunch of replacement batteries from Ebay for just 6 dollars/piece! To charge them, you can either buy a dedicated charger, charge them inside the camera or build a charger yourselves. I decided to go for the last variant.
After examining the batteries, I concluded that they are normal 3.7 V Li-Ion cells, which can be charged with the well known TP4056 IC. I have tons of these at home, either in the forms of dedicated ICs or already soldered on boards with micro USB connectors and status LEDs. You can get these boards from Ebay for about 50 cents, just search for “TP4056 board”.
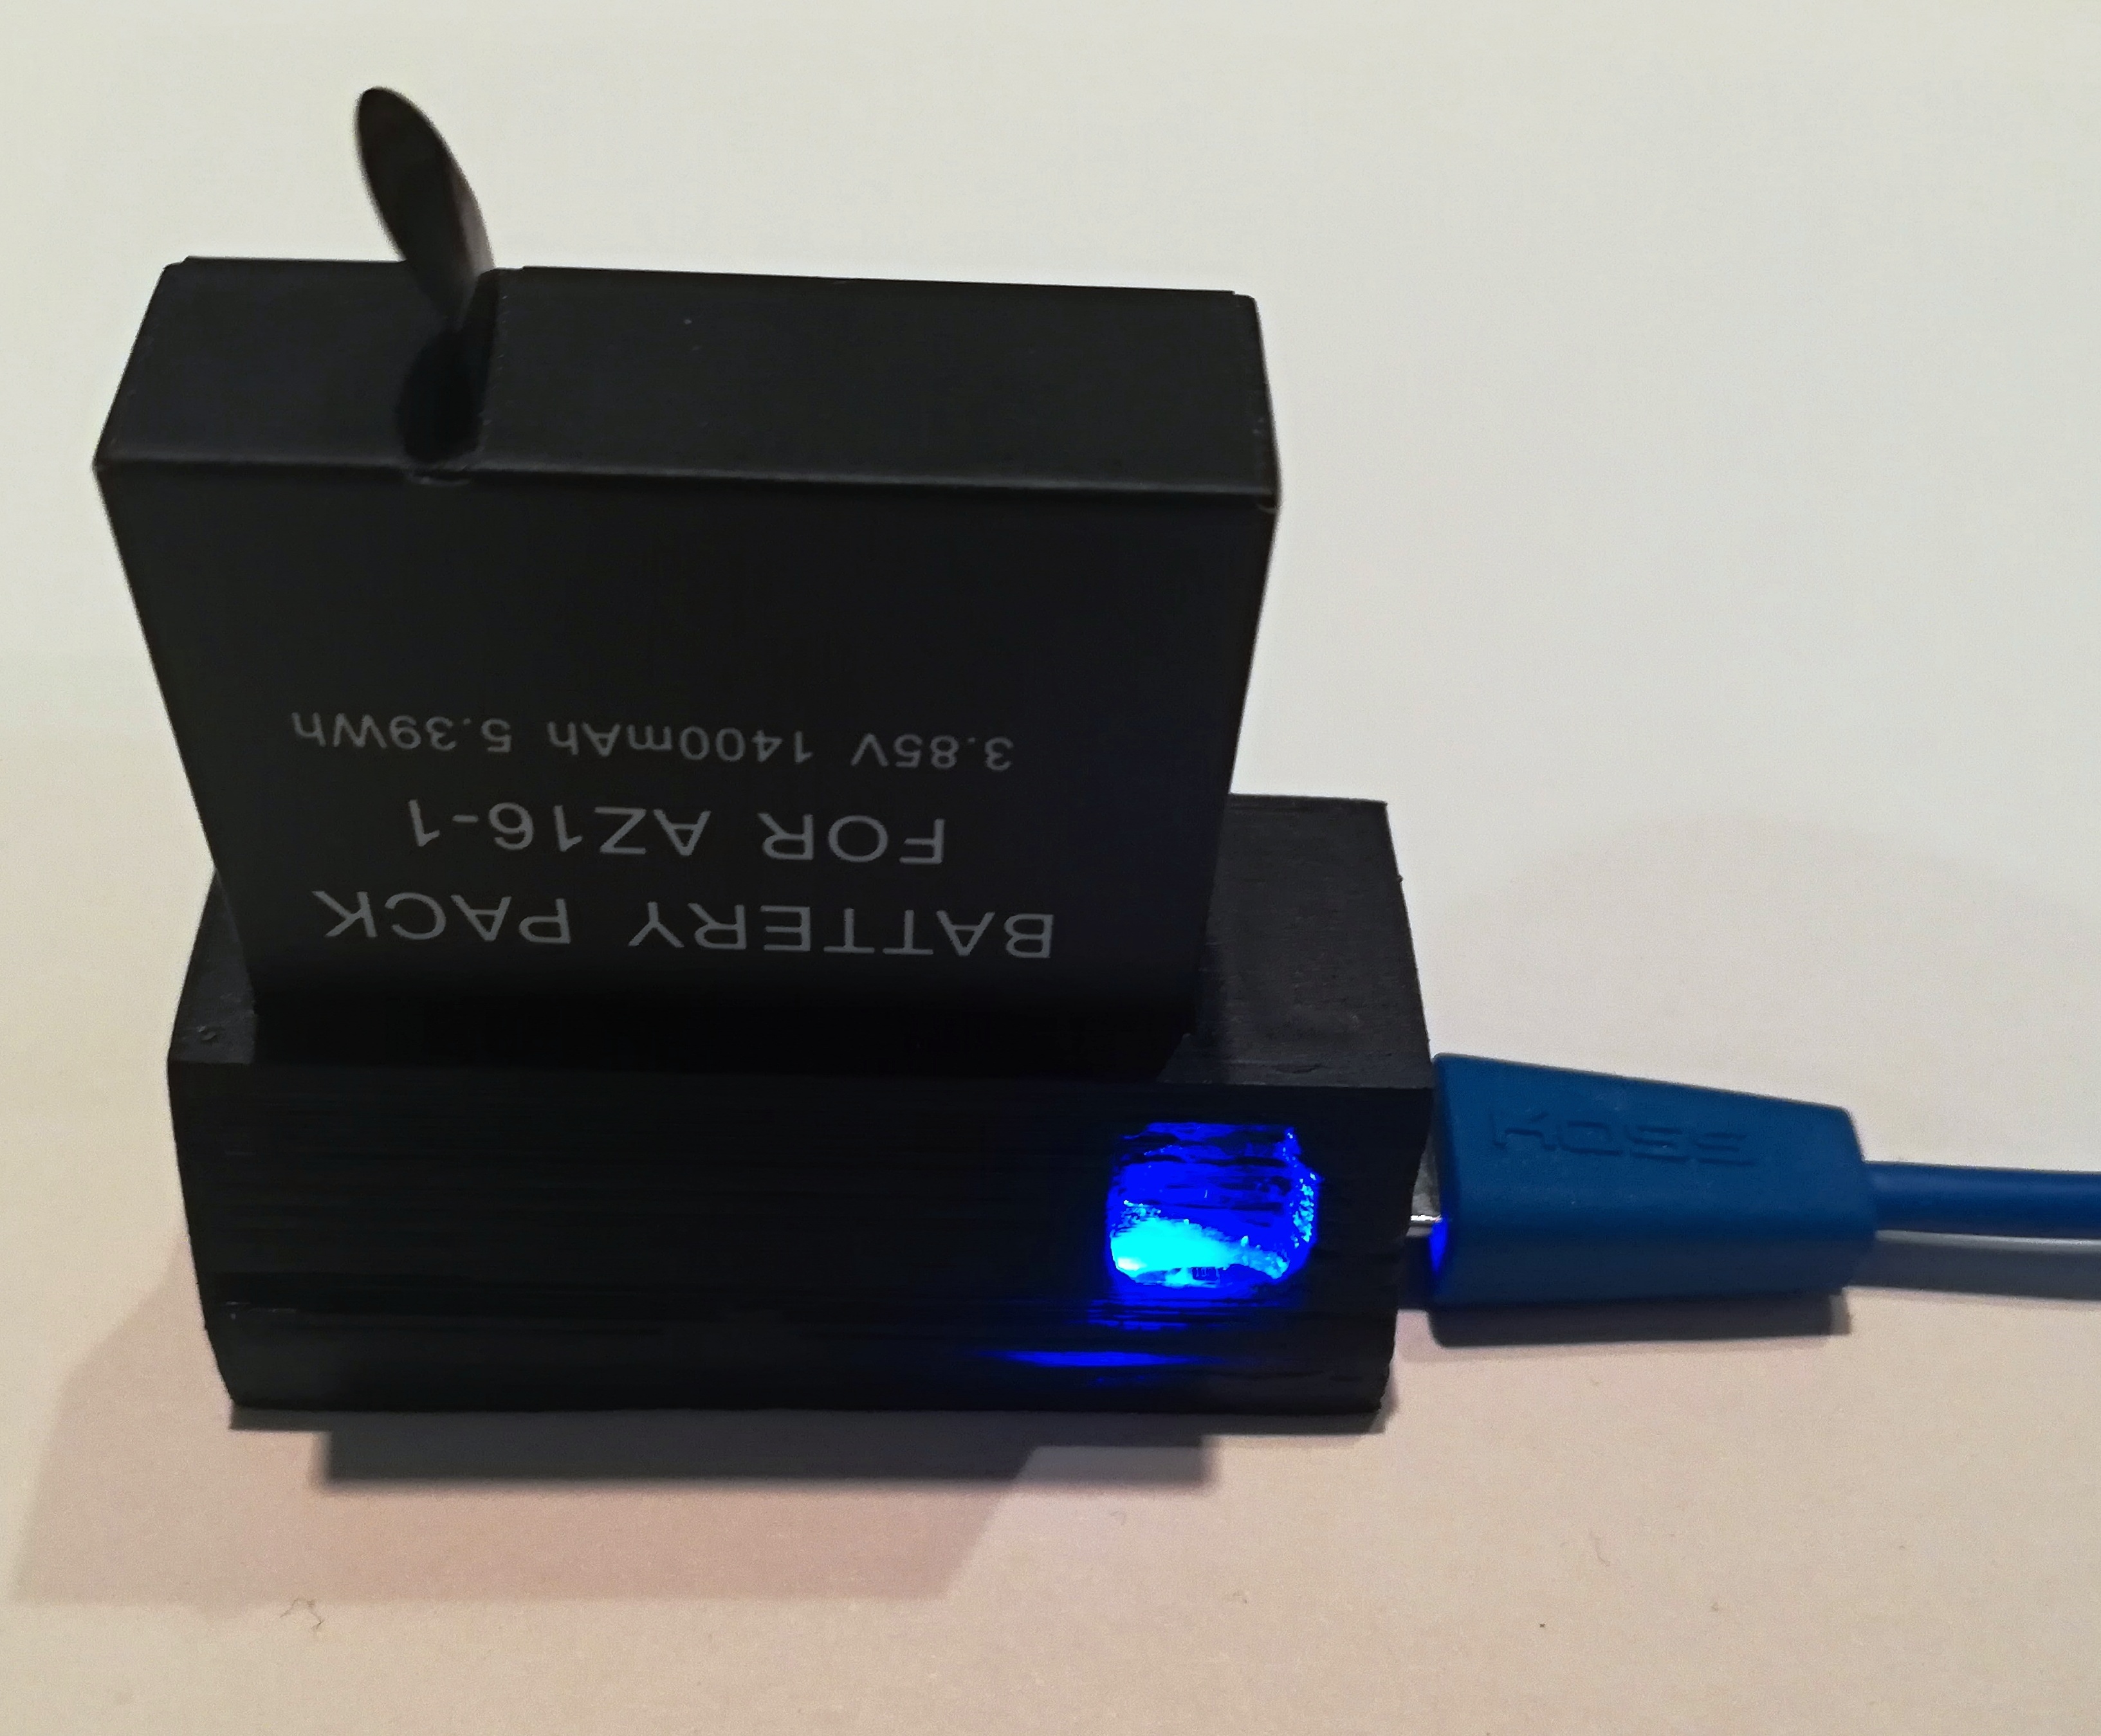
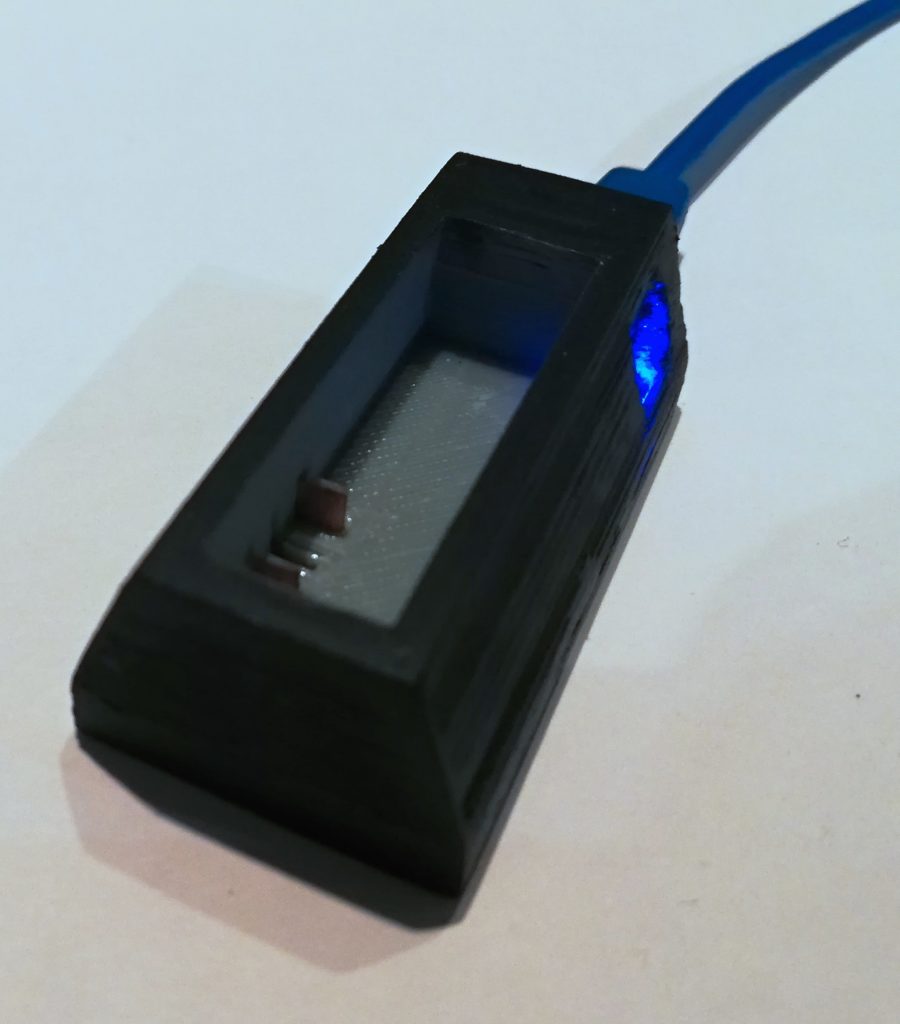
The battery has three pins, which are marked as Vbat, Gnd and Temp. I am not going to use the temperature sensor pin, since I do not expect the battery to heat up much in open air while being charged at only 1 amp. So I just made two blades out of 0.6 mm FR4 copper clad board, which will slide into the battery grooves/pins and carry the current. Afterwards I designed a simple 3D printed enclosure/holder, which will guide the battery to the blades. And that’s it, I printed the part, used epoxy to glue the blades to the 3D print, attached the charging board and cables and then I sanded and spray-painted the whole thing.
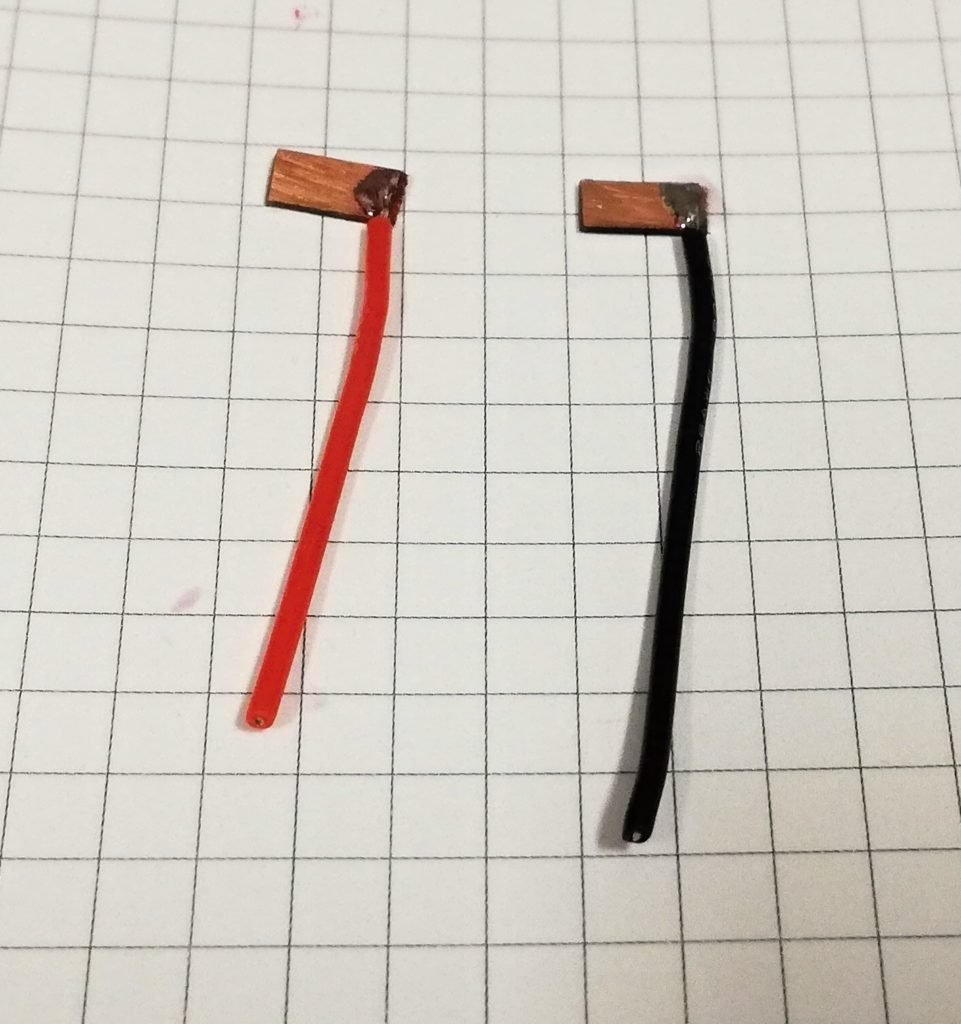
the blades which connect to the battery are made from 0.6 mm FR4 copper clad board 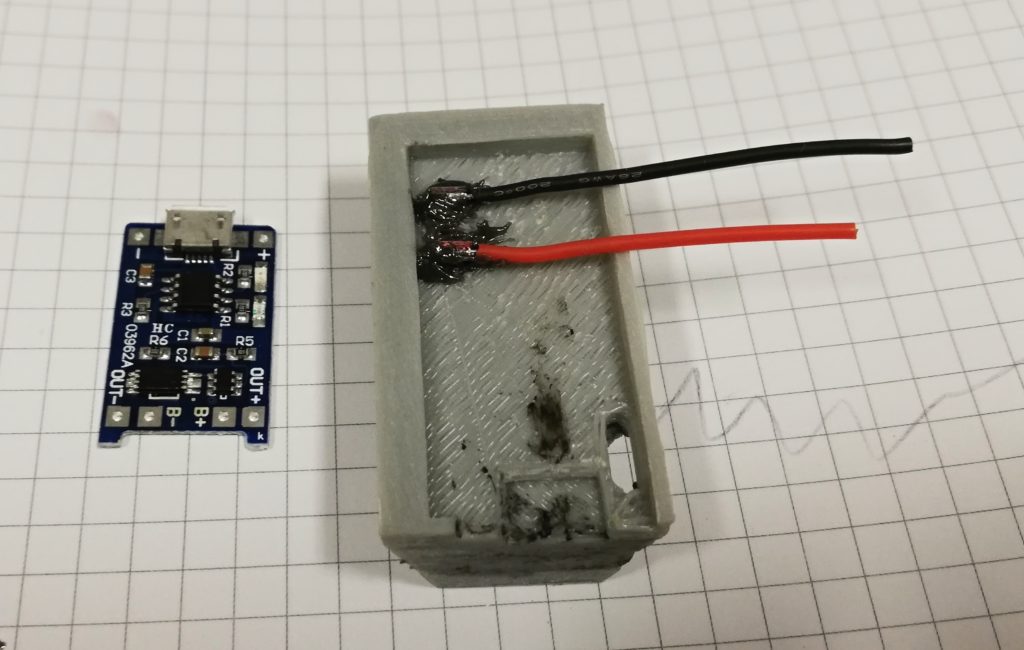
bottom view of the charger, blades glued in 
blades soldered to the TP4056 board
Battery perfomance
While working with the batteries, I wondered how much capacity do they really have – both the original Yi 4K batteries and the Ebay “AZ-16” batteries. So I performed a simple test with my 1 % electronic load:
| Battery | Original | Original | Ebay | Ebay |
| Charging method | Camera | DIY charger | Camera | DIY charger |
| Capacity @ 500 mA discharge [mAh] to 3.0 V | 1166 | 1038 | 786 | 816 |
| Claimed capacity [mAh] | 1200 | 1200 | 1400 | 1400 |
| Open circuit voltage 1 hour after charging [V] | 4.17 | 4.21 | 4.11 | 4.18 |
So the usual rule applies – never trust battery capacity ratings from Ebay. But still, the Ebay batteries work OK in the camera and they still have 2/3 the capacity of the original battery, so I do not regret buying them.
Conclusion
Making the charger took me about 3 hours, but that is including drawing the 3D part and 2 prototypes before the final product. Surprisingly, it works very well – the battery is held firmly yet it is not hard to insert and the blades make a good contact. Of course, I could have bought the charger from Ebay as well – it costs just a few bucks. But since this was so easy to make I decided to build it myself, because why not. You can find the files here on Thingiverse, it literally takes half an hour to print it out and another half an hour to put it together. So totally worth doing it.