Simple camping light/torch
One of the most useful tools when camping is a flashlight. They come in a ton of different shapes – headlamps, torches, lanterns… I have a good headlight, but sometimes I want to, say, illuminate a whole tent or a room. For this a headlamp is not suitable, because it is very directional. So, from a few parts I had laying around, I made a simple camping lantern/portable light. My requirements were:
- capable of illuminating a 5 x 5 metre room enough for people to, say, read a book
- constant lighting, indifferent of battery voltage
- micro USB charging
- diffused light
- can be hanged upside down (so I need some sort of integrated hook or loop) or stood on a table and turned in the right direction
- 3D printed, constructed from parts I had laying around
Based on these requirements, I came with the following schematics:

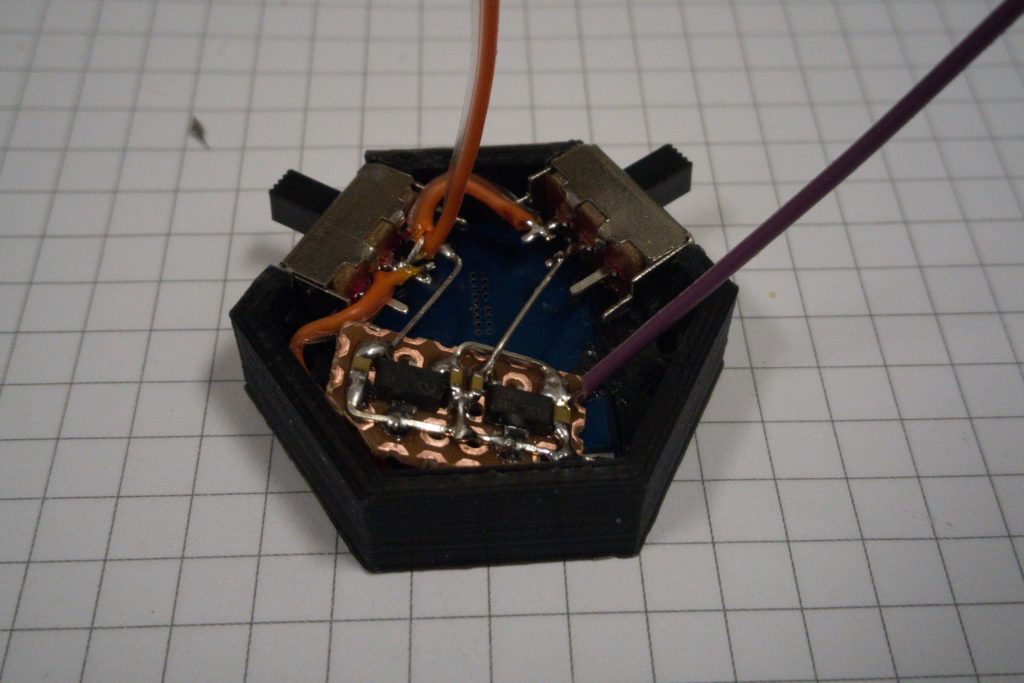
Power is provided by an 18650 cell (salvaged from an old laptop), which is connected to the well known TP4056 charging/protection chip. This both enables USB charging and also protects the battery from undervoltage or any other hazard. Then I used two AMC7135 constant current sinks – these little chips are actually quite useful when working with LEDs and also cheap. Once powered, each of them sinks 350 mA, so on full power we have a 700 mA sink. They are linear, so the excess power is dissipated as heat, but we are not losing much – with a battery voltage of 3.7 V on average and LED drop of 3.2 V, we are dissipating only about 0.35 W of heat. In other words, the average efficiency of the system is roughly 86 %, which is similar to what we could achieve with a switching system, except this is much less complicated and requires less space and parts.
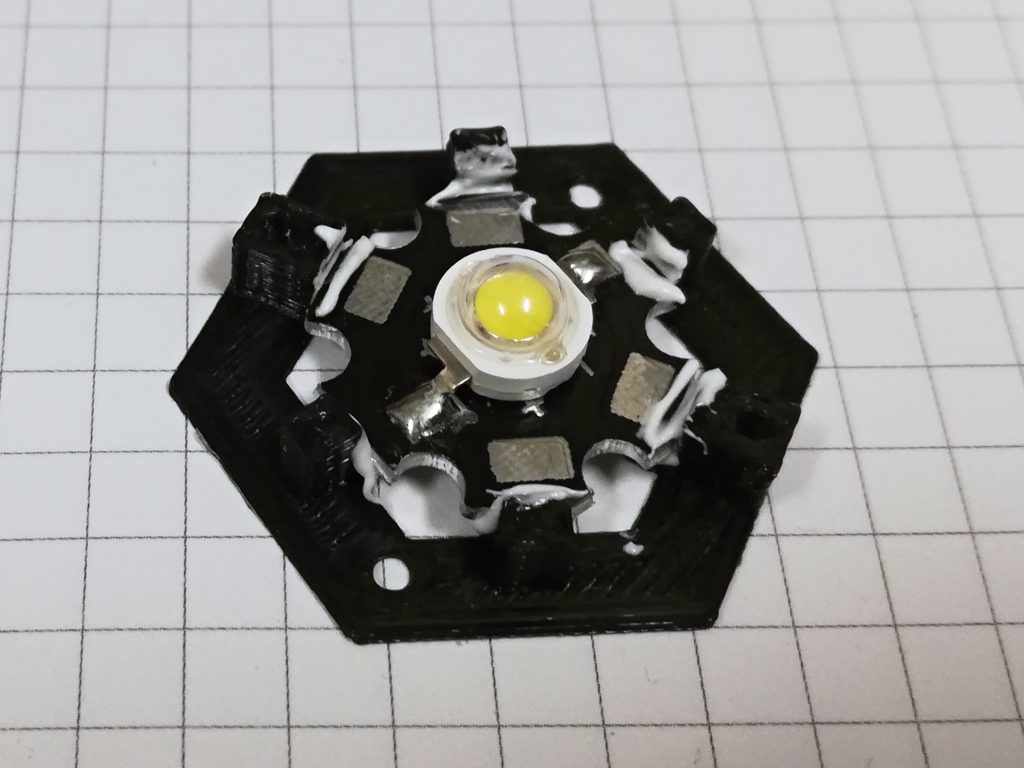
And lastly, the most important component of them all – the LED. I used one of those cheap 3 W LEDs with hexagonal aluminium base board. There were two things which actually surprised me – how much light does one of these output and how much does one heat up. Even though I am not driving them at full power, just one of them is still capable of illuminating a whole room and heating up to 90 °C. So I had to make some compromises regarding thermal design, especially after installing the diffuser.
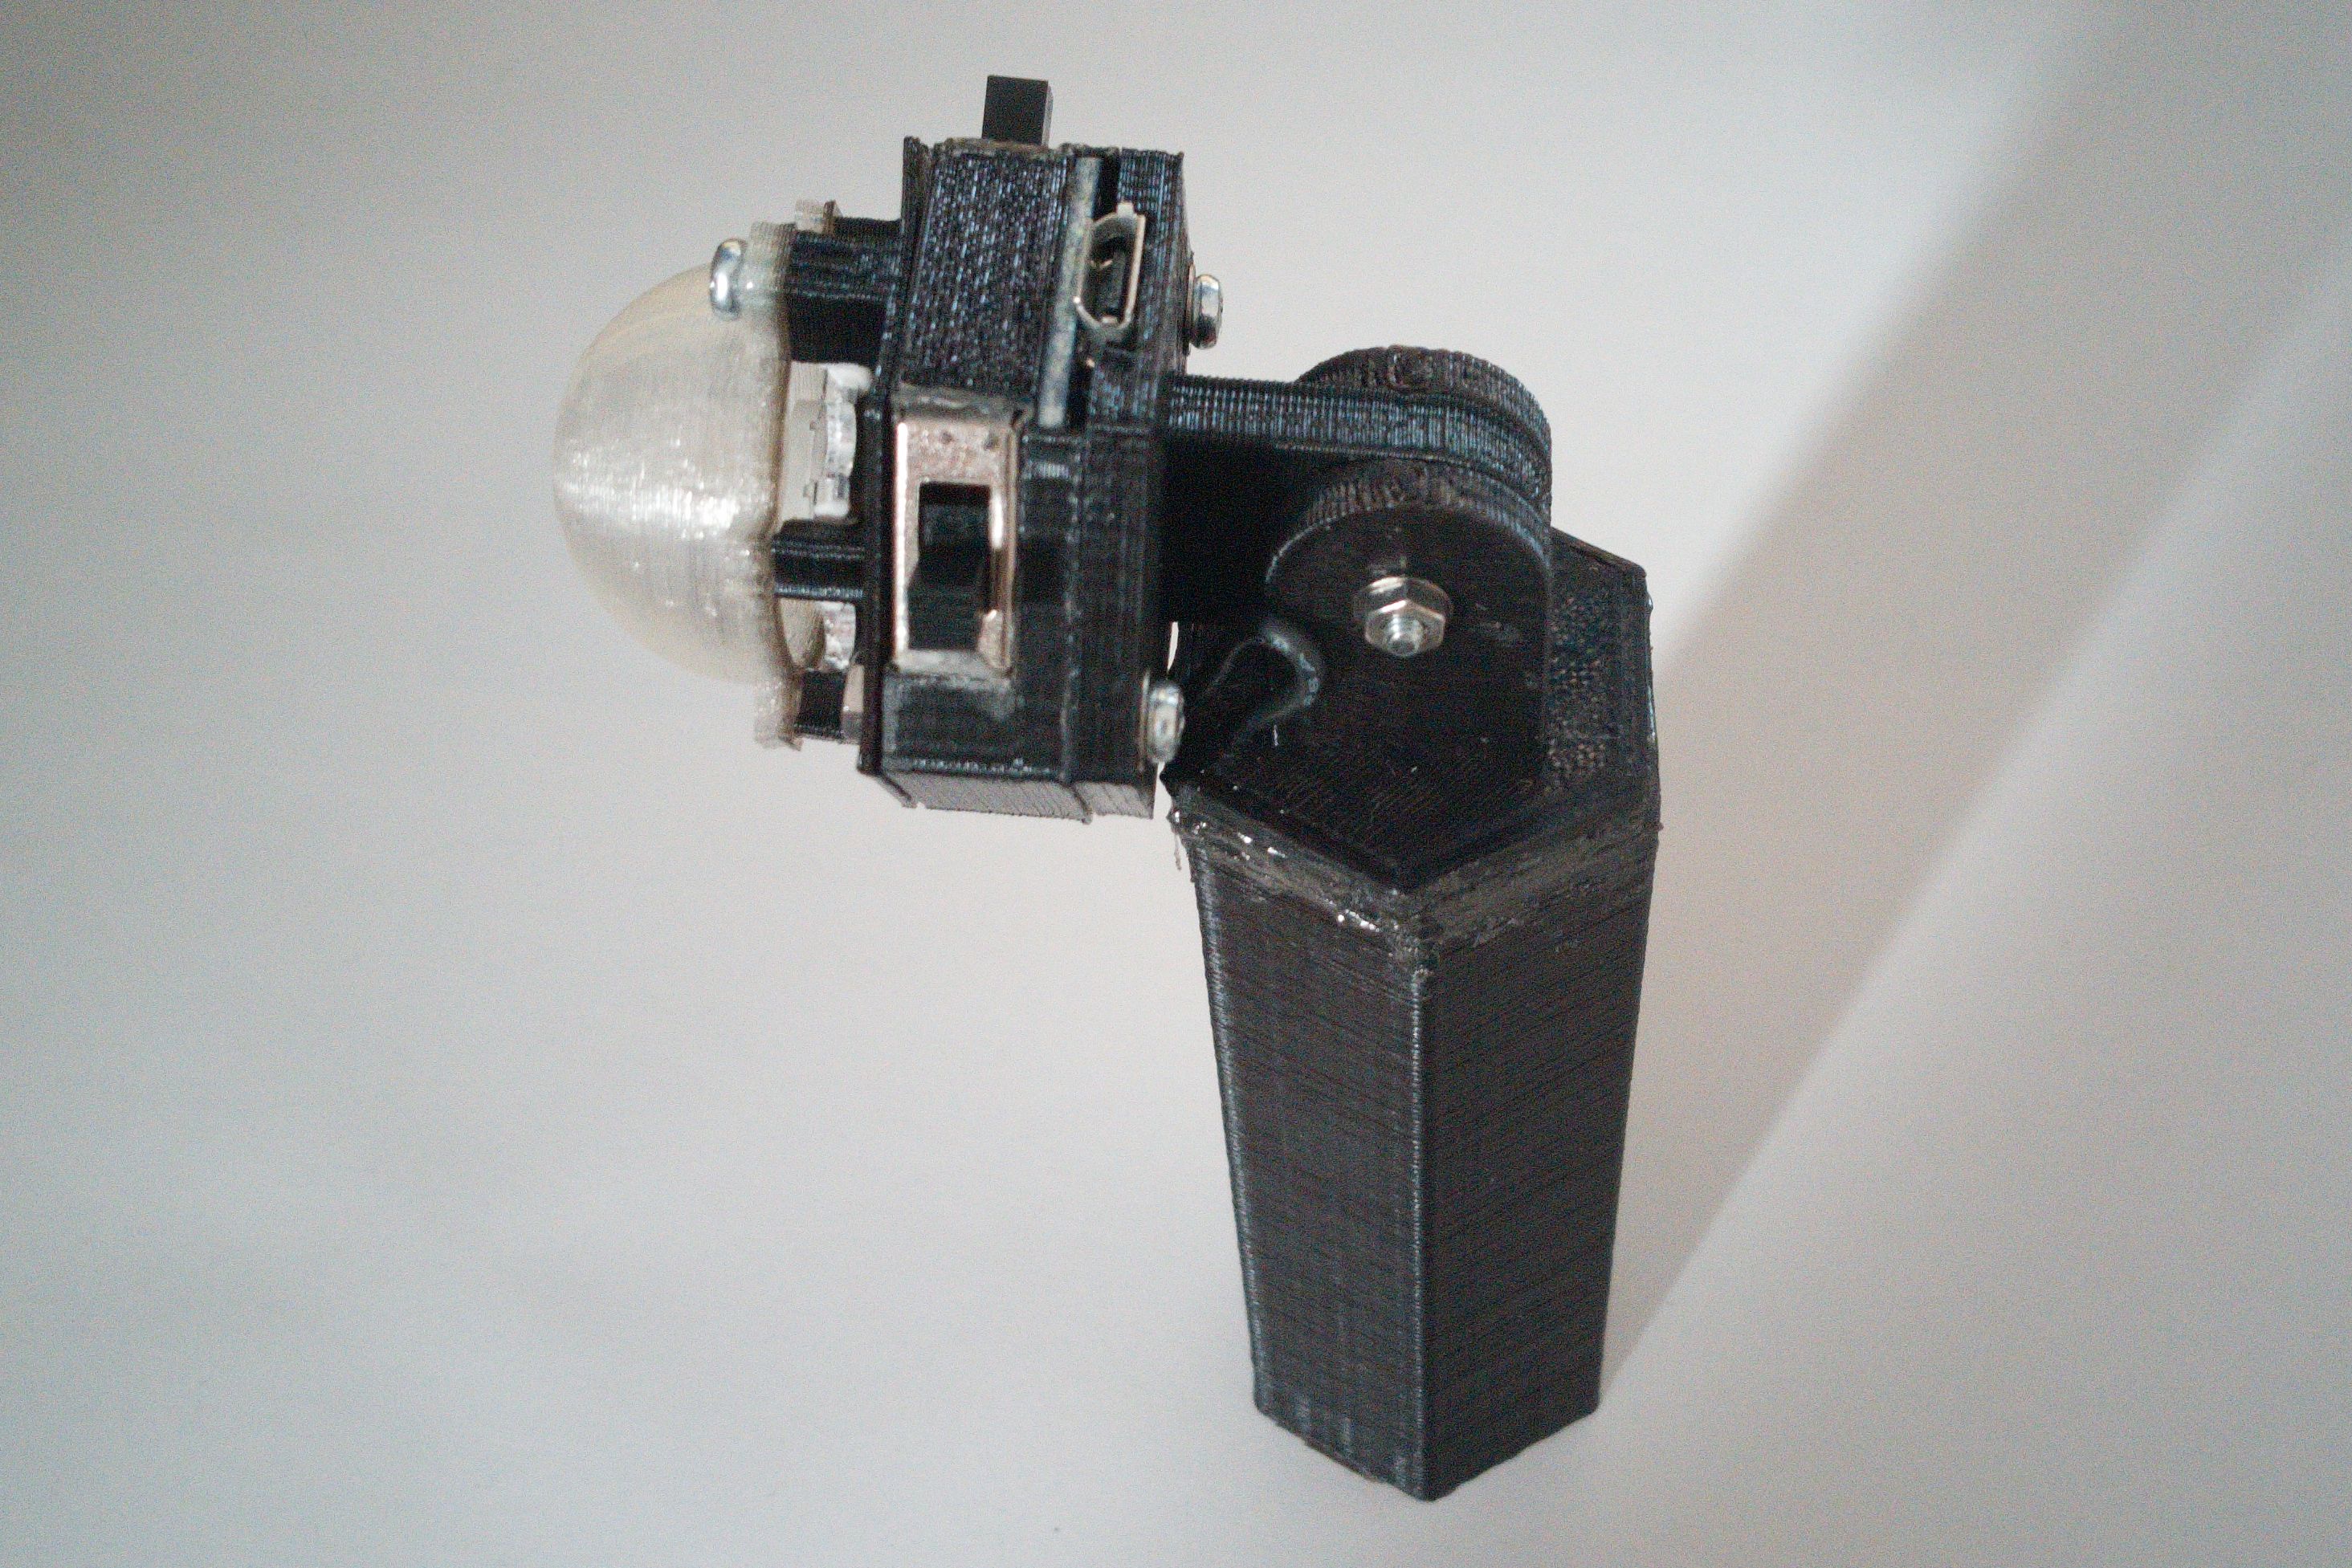
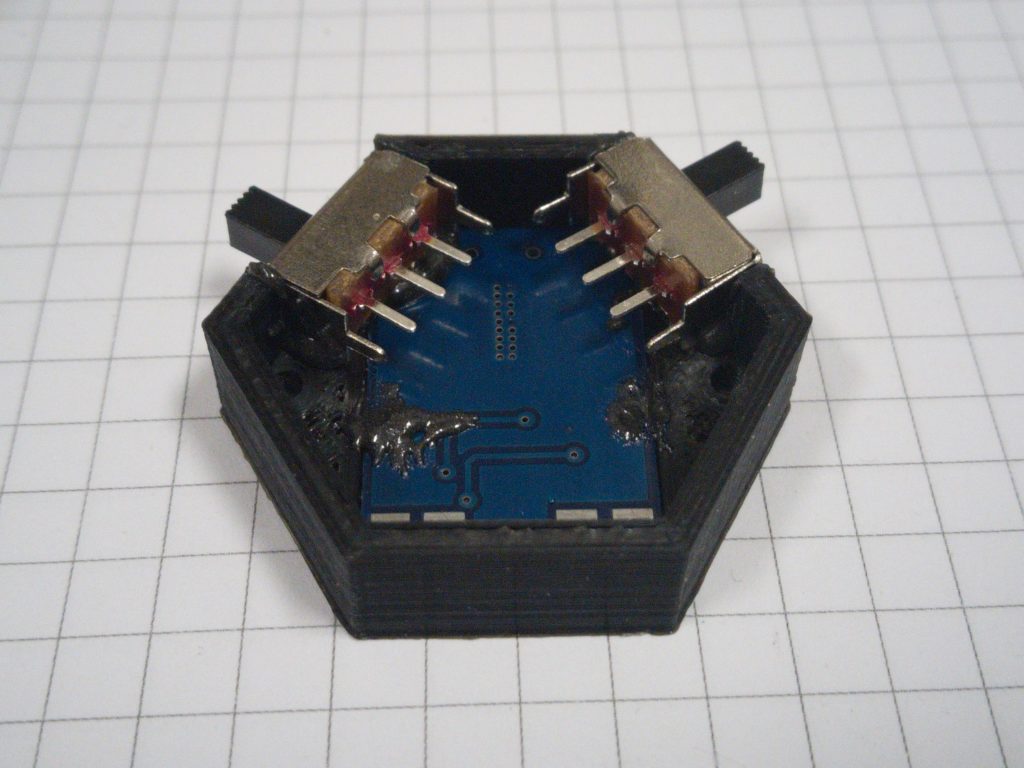
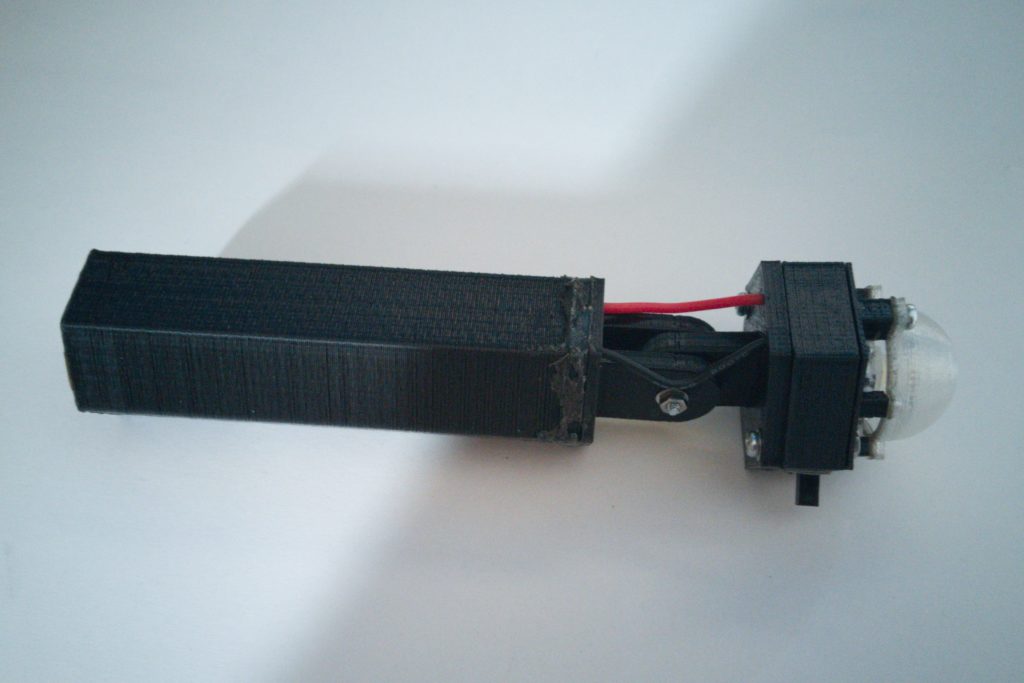
With the electronics done, I’ve drawn a simple body to accommodate the battery and a head, containing the LED, driver and protection board. After printing, I put it together using M2 screws and epoxy glue. Since I was doing this as more of a side project, I decided not to make a PCB and just put the circuit together mid-air. The head can be angled up and down and the body contains a loop to which a string can be attached, enabling you to hang this thing from a tent ceiling or similar.
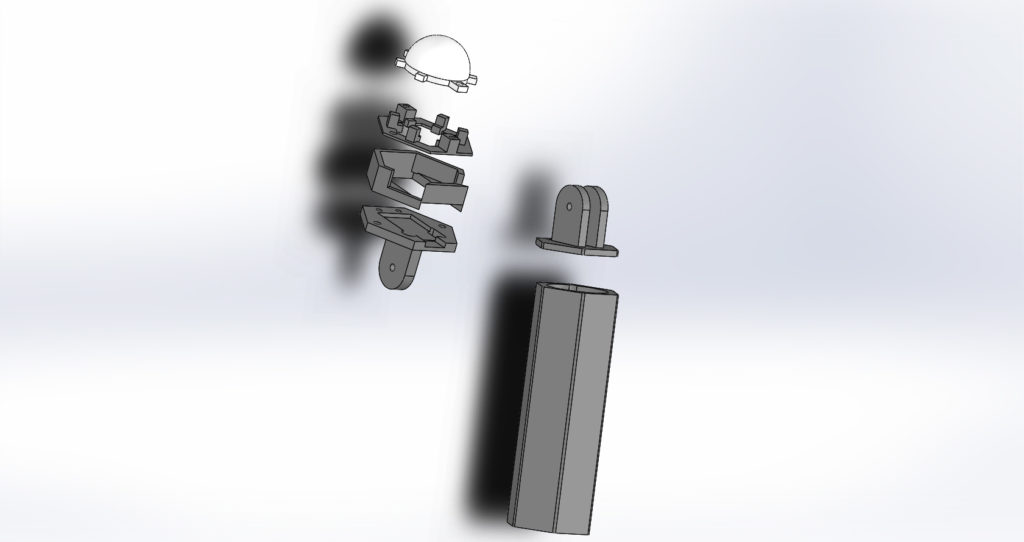
However, the LED is so strong that without a diffuser it would actually hurt your eyes, so I had to make one. Firstly I was thinking about using some sort of thin paper or a golf ball (tips I found on the internet), but then I remembered that I have a spool of transparent PLA. So I printed the diffuser from that, sanded it a little to make the surface rough and I must say that it works very well. And if you are wondering why there is such a large gap between the diffuser and the head, it is simply to provide enough airflow to cool the LED.
Conclusion: I was positively surprised how well this worked. Sure, it does not look good, but I think it is rigid enough and gets the job done. Without any sort of cooling we cannot increase the power of the LED much, so we wouldn’t be able to stick anything more powerful in there anyways. Also the diffuser from transparent PLA works really well, which is a good think to know, since I work with LEDs a lot.
If you want, you can get the 3D printing files on Thingiverse.